Showing posts with label handmade. Show all posts

Tuesday, April 3, 2012

My Rules for Decorating

As promised, I'm going to show off some of the changes that James and I made in our apartment this weekend. As I was looking around at what we did, I realized that we only spent $40 on a new rug and a new lampshade. Everything else we already owned and moved around. 

I think we often believe that we need to spend a lot of money to freshen up our homes. The reality is, you probably have a lot around the house that you can make work just by re-purposing it or moving it to a different space. 

As I share these pictures, I want to also share some of the rules I go by when decorating my home. But first, some overviews of the rooms we changed the most--the living room and the guest room.

***

Here is the guest room/office. It used to be our TV room, but we decided to move the TV out into the living room. I love that this is now a quiet space where we can work on the computer, read and provide space for our overnight guests.

  
This is now what the living room looks like. It's so nice to have both couches in one room, as well as the large carpet! It feels like a much better space to entertain now, with lots of seating and a comfy carpet to sit on to play games and hang out. 

 And now to my rules:

Rule 1: Embrace family heirlooms. They may not match your decor, but they are special because they either belonged to or were made by someone you love. Proudly display the things that make you think of those you love.

 
 This granny-square blanket was made by James' grandma. We keep it out all the time and it adds color and warmth to our guest room!

Rule 2: Buy second-hand. Some of my favorite pieces of decor cost very little and were purchased second-hand. They are also usually the items that I have the hardest time giving away when it comes time to purge some old things. But, that being said, it's easier to get rid of something you paid a few bucks for than something that cost a lot. And, when you make that trip to Goodwill to drop things off, head inside to pick up a new treasure!

I just found this milk glass vase at Goodwill last week. I think it might have been $3.99, but was then 50% off! I found another one with a different pattern that I put out in the living room. 

I found those hanging lanterns and stand in a consignment store a few years ago. I think it cost me $30, which is a steal for something this unique. I get a lot of comments about it; it's one of those items that I don't think I'll ever want to give up--it is a treasure for sure!


Rule 3: Let both of your personalities shine. I read a lot of blogs about decorating, and I often wonder, Does a man live in that house? I could easily do whatever I want in our house without any consideration for James, but it's his home too, and he deserves to be comfortable and happy with what is around him. Make compromises and make sure he is represented in your decor!

 Here's the picture of our guest room again. You can see that we have some of James' movie posters hanging on the wall. I don't love them, I'll be honest. But, they are important to him and so they are important to me. 
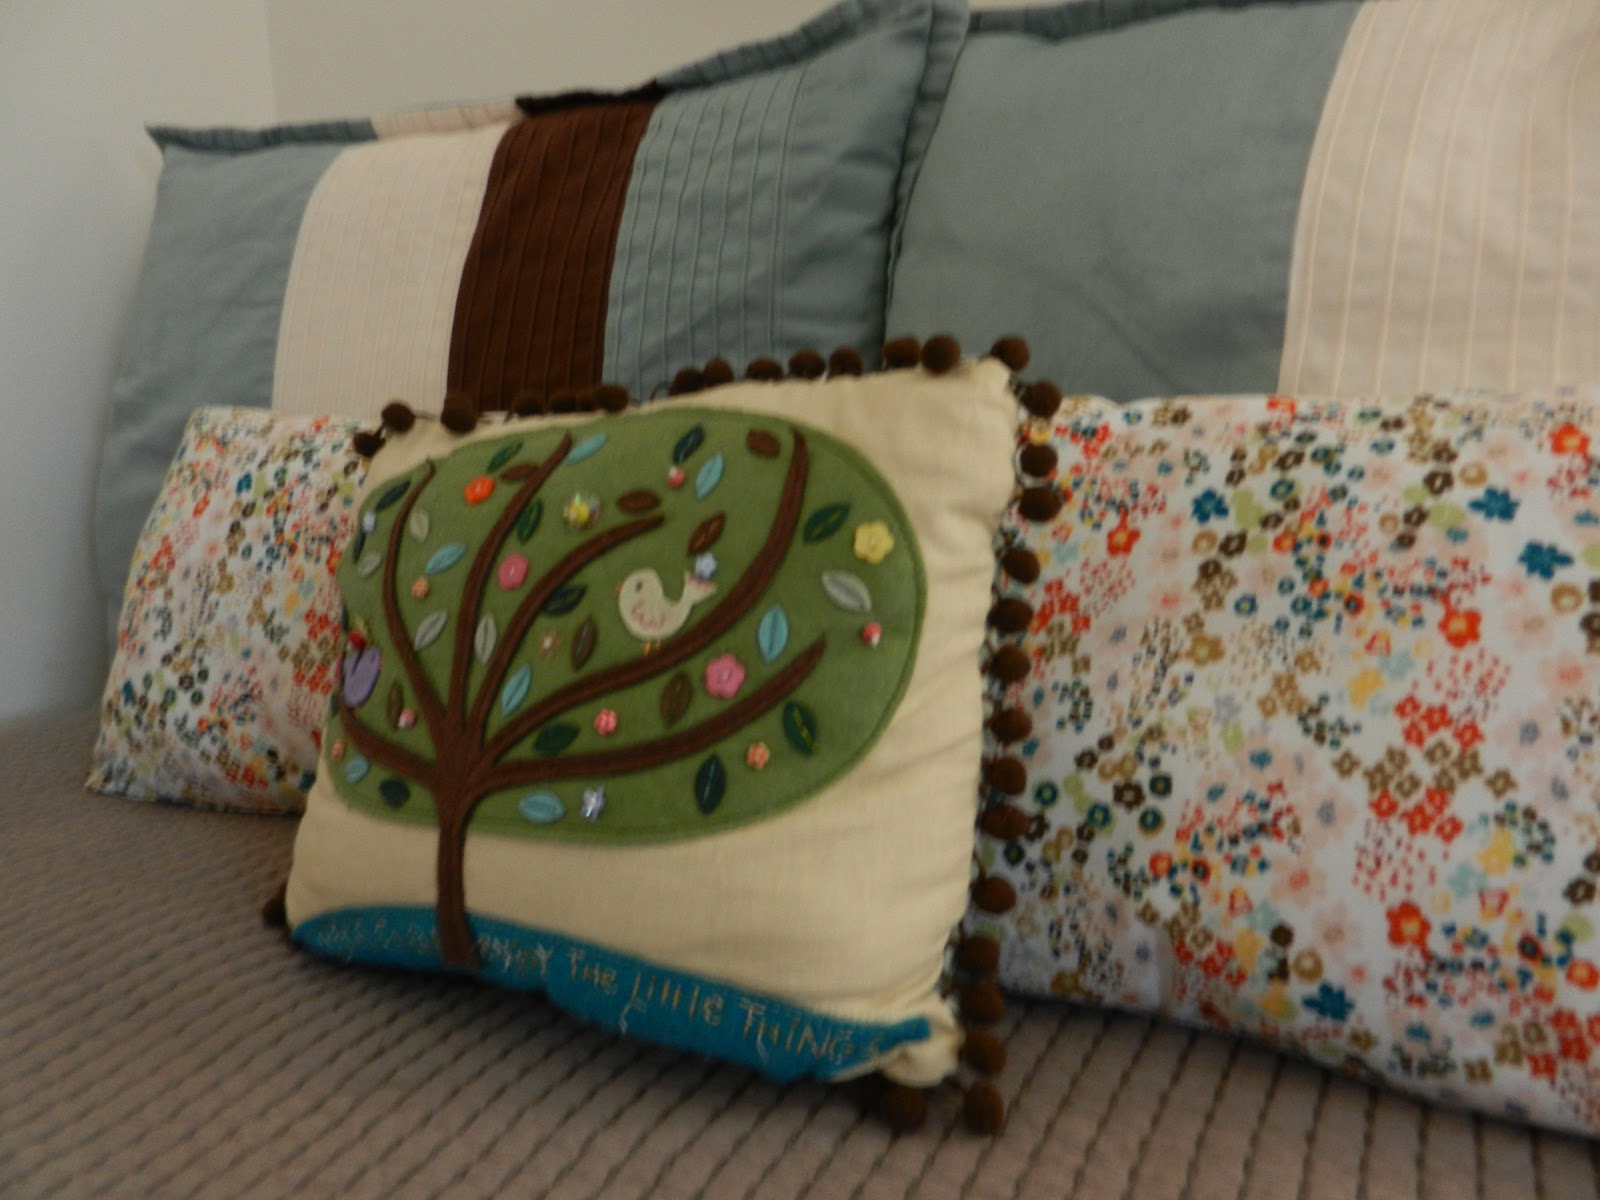
 I balance it out with floral throw pillows on the bed.

This garbage can belonged to James' uncles when they were kids. He got it from his grandma last summer. Ya know, it's a little weird, but it is also funky and has a vintage vibe, which I obviously love. It also meets a lot of my rules--family heirloom (can a garbage can be an heirloom?) and second-hand!

Rule 4: Use what you have. Re-purpose, reuse, revamp. For goodness sake--the things we have lying around our homes are treasures in themselves. Go "shopping" in your closets and drawers and see what you find. Or, chose something you are bored with and find a way to jazz it up.

 I think it was my sophomore year of college when a friend of mine used my picture on an art project she was doing. She gave me this little print (it's a stamp) all those years ago and I've held onto it. After all, I've never been the subject of a piece of art before! Well, I found it again this weekend and I told myself that it was time to use it or toss it. I put it in a little frame and now it's a funky piece of art for our home! 

These pillow covers are new, and guess who made them? Yup, me! Dude, throw pillows are so expensive--but now I will never buy them again! I used this tutorial with great success, and I'm not an incredible sewer, so I bet you can do it too! Now I can change out my pillows any time and I love that I can wash them regularly.

***
I hope this gave you some practical advice for sprucing up your home. Remember, your house doesn't have to look like a magazine (or the homes of every other blogger out there!). It should represent you and your family and be an expression of what is important to you!

Now, I'm off to enjoy my new spaces, and the beautiful breeze coming through my window!!

Tuesday, November 29, 2011

Who loves Christmas?

We do! James and I have gotten the Christmas bug, and we are all about decorating!

We had decided a while ago to get our REAL tree this Saturday, which was traditionally the weekend that my family went to cut down a tree when I was growing up. But, James also has a fake Christmas tree that he had set up in his apartment the past few years. We hadn't decided whether we would set it up this year, but the decision was apparently made without me because I came home yesterday and there it was, set up in the corner of our dining room!
James got all new green, red and gold bulbs specifically for this tree so that all of our other random assortment of ornaments can go on our big tree. I decided that it needed lights, so I went out today to get a few strings of white lights. I added them this afternoon, and I think it turned out quite nice! I am currently sitting at our dining room table basking in the glow that this lovely little tree provides.

While out, I also picked up a few other items to finish off some decorations for the house. I couldn't resist putting some of them together today when I got home from class.

 This trio is on our dining room sideboard (which is really just an old dresser). I love the idea of mixing silver and gold with the traditional colors of Christmas.

 This centerpiece is on our dining room table. Props to my mom for figuring out a creative way to use these ceramic globes from Christmas Tree Shops. This entire thing cost me about $8!

Another symbol of the season--candy canes! I love seeing what I can put in my collection of glass jars.

On Saturday, we will finish up all of our decorating, which will mostly consist of putting up and decorating our tree, as well as finding a place for my Nativity set. More pictures to come, but in the meantime, I hope this puts you in the holiday spirit!

Monday, October 17, 2011

little creative moments

Over the past several months, I've had a little bit of time here and there to get crafty. I try to take pictures of my creations so that I have them on record, but also so that I can share them with you! I'm no artistic genius, but I do have a good time making goodies for friends and family. Here are a few that I've made that haven't been shared yet:


 I made these two pairs of earrings for two friends who had birthdays in August. 
Handmade with "<3" is not an official name, but I wanted to add a personal touch and let them know that they were made by moi and not purchased somewhere else.

 "Swan" is a family name of my sister in law, so when she received a gift wrapped in swan wrapping paper at her shower, I snatched it and made a little wall-hanging for Gabe's nursery--their little cygnet.

The friend whose shower I attended Saturday is decorating her baby's nursery in Muppet theme, so I put together this little painting for her and her husband with the lyrics to "Rainbow Connection."

Monday, August 22, 2011

Oh, baby! Let's catch up!

As mentioned in my last post, I traveled home to Connecticut for the weekend to celebrate the imminent arrival of my little nephew with a baby shower for his beautiful momma, Meg. It was a great time, and I am so thankful for all the women who were there to celebrate this joyful time with our family. Meg was truly "showered" with all kinds of goodies and love--we are blessed!

The prompts for the 30 Day Photo Challenge could not have been more appropriate to be taken during these days that I was away, so while catching you up on the shower, I will also be catching up on my photos:)
Kaitlin and I made onesies from each of the aunts and uncles...Aunt Benny loves me...that's me!

 We decorated with clotheslines of baby boy clothes...

 ...And white roses with babies breath in blue vases
Kaitlin made cake pops...
 ...with red hair!
 Lunch was simple sandwiches, salads and chips.
 Meg was literally showered with gifts!
 Day 9: faceless self portrait...I love my feet...is that weird?
 Dessert...
 ...including Baby Blue Punch!
 Love my sisters! 
(me, Meg, Kaitlin)
 Day 11: something fun...recreating a picture from Meg and James' wedding, except this time we're kissing Beansprout:)
 Day 10: something i made...bookmark favors, since we asked everyone to bring a book for the baby
Baby boy colors, but flowers on top to make them a little more feminine for our female guests.

And now the countdown begins--six weeks until I become an auntie for the very first time! We can't wait for you to get here little one--you are already so very loved!

Wednesday, July 20, 2011

Crafty

When I found out last night that I would not have to work today, I knew exactly what to use my day off for--crafting, of course! I had a few ideas for my porch that I was determined to make happen today. So, after sharing (though not on purpose) my leftover cereal milk with Cuddles...
 
 ...I made my way to Joann's for supplies. The goals: (1) Create my inspiration wall, (2) Find fabric for valances for porch windows, (3) Sew valances. I'm happy to report that I was quite successful!

I created a really simple inspiration wall with simple jute twine, upholstery nails, and miniature clothespins.
 
I found the perfect fabric for my valances. It has the same colors as the fabric on my chairs, but a completely different and equally whimsical pattern. I finished one valance today and plan to do the other within the next week. I found a really simple tutorial here, and followed it pretty much to a tee.
I truly love days like this when I can let my creative juices flow! My prayer tonight is for more times like these...for now it's off to bed to prepare for a few days with my Momma and sister at the Joyce Meyer conference here in Albany.

Wednesday, February 16, 2011

As promised...


...here is my really easy tutorial for making a new-sew fleece blanket. I made this one about a week and a half ago as a gift for my favorite girl, my cousin Jennie. She is five, and has been my little buddy since the day she was born.


You will need:
1.5 yards each of two complimentary fleeces
a pair of good fabric scissors
a ruler
a piece of scrap cardboard


1. Lay out your two pieces of fabric with the "good" side of the fleece facing out on both sides. You'll be able to tell what the "good" side is based on the sharpness of the image (if there is one) and the feel of the fleece.
2. Use a piece of cardboard (I used a piece of a cereal box) to make a template for cutting your strips. Mine was 1" by 4", which is pretty standard for these blankets.
3. Cut a 4" by 4" square in each corner of the fleece. Notice, you are cutting both pieces of fleece at the same time.
4. Start cutting 4" strips all the way around the blanket. Use your template so that each strip is about 1" wide. Your cuts will not be perfect, so don't go too crazy trying to make them so. Once the blanket is done, you'll never know!
5. When you have all of your strips cut, all the way around the blanket, it's time to start tying. Tie the two pieces of fleece together one strip at a time. I use a regular double knot, but feel free to experiment--anything goes!

Sunday, February 13, 2011

"Sunday Thanks": Girls Night

 I love spending time with some good women in my life, sharing laughs, acting dumb (I'm really good at that), and even getting a little crafty! Last night we broke out the jewelry supplies and combined resources to come up with some really great designs. So this morning, after less sleep than I require, I am thankful for girls night because eight hours of sleep can't rejuvenate you like an evening spent with girlfriends.

I have to show off our creations, of course!

 Tabitha made this necklace using a vintage earring as the center pendant and a really pretty combination of beads strung onto wire.

 Tabitha models her second necklace--we liked that it was simple, but funky.

 Michele models a set she made using these wooden circle pendants--we both love the combination of brown and blue!


 Michele made this necklace as a gift for her mom's birthday--nice combination of colors with a little pop at the clasp.

 This pearl and blue glass beads combination was made by me--two strands that I decided to twist together!

 This funky little number was made with a vintage earring as pendant on a dramatically long string of pearls (I'm wearing it today with a black shirt, and it looks great!)

This vintage pin with needlepoint detail just needed a chain, and voila!
Related Posts Plugin for WordPress, Blogger...